The Sam Rayburn High School Art in Public Spaces team is now working on a 3' x 20' ceramic tile mural which will be installed at the iT'Z pizza and arcade in Pasadena.

This is the design for the mural. After we decided on the imagery and chose a design, I uploaded the sketch into Photoshop to play with the colors. We went with purple for the background with red and orange splashes, as those are the iT'Z colors.
This is the wall that will support the mural when it is finally installed. The space is 3 feet tall and 20 feet long.

The first step of the design process was the sketch. We brainstormed ideas about what kinds of imagery represents the business and the kids' personalities. Students submitted their ideas and we combined them into a single composition. I drew it to scale so we could see how it would read on the wall.

After the sketch was finalized we transfered the image to a full size 3 ft x 20 ft roll of yellow craft paper. Hanging the paper on the wall in the hallway was a great way to work. it allowed the kids to see the full scope of the project and to back off from it to get some perspective when needed.


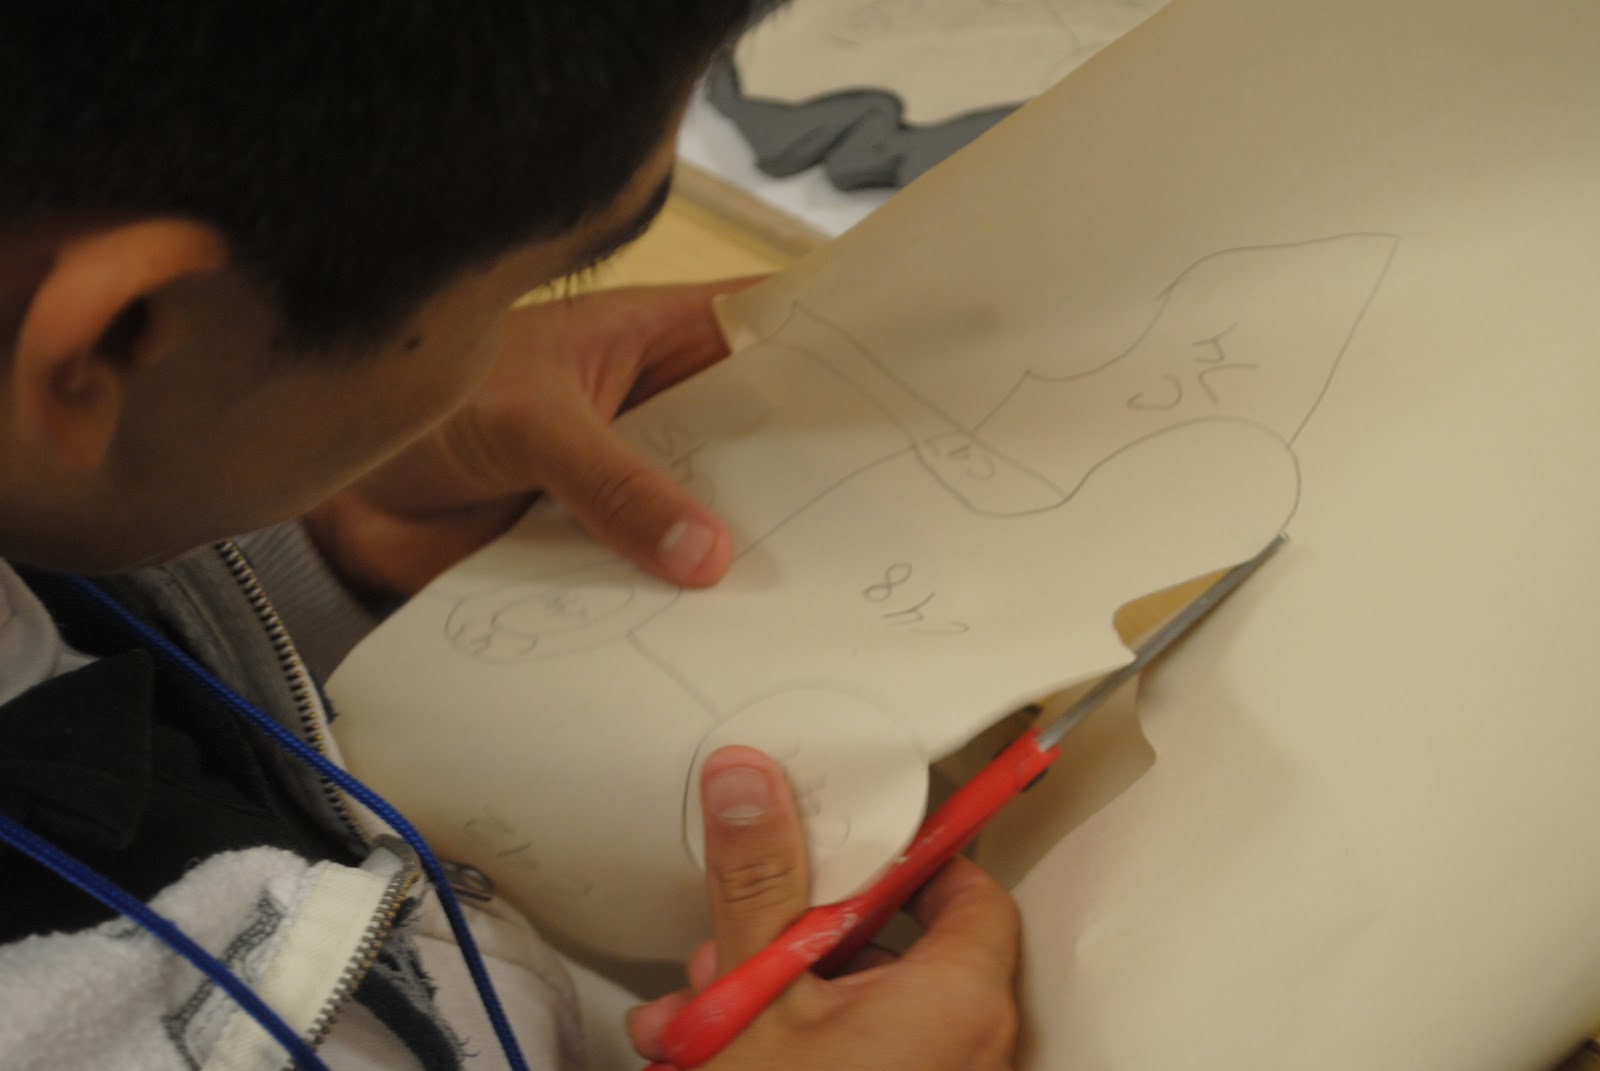
The image was divided up into pieces like a puzzle. I've learned from experience that tiles will warp while drying if they aren't carefully monitored and flipped during the drying process, and the larger the tile, the more it will warp. I told the kids to make sure the pieces stayed about the size of their flat hand to try to cut down on drying issues later. Each puzzle piece was labeled with a letter according to which of the 4 panels it was on (A,B,C, or D) and a number to help us locate its position on the panel.
 After the template was finished we began tile production. the first step is to trace each of the puzzle pieces onto newprint using a light box. The kids worked in sections and cut out all the traced pieces making sure that they had the letter and number written on each piece.
 They also had to indicate on the template which pieces they had traced to eliminate redundancy.
Then they traced the cut out newsprint piece onto the clay slab and used a needle tool to cut it out. Being extra careful to hold the needle tool perfectly vertical to reduce uneven sides.

The cut out clay pieces are labeled with the letter and number, on the back of course, and set on shelves to dry. I found that keeping the paper piece with the clay piece helped prevent extra copies of pieces being made.

After all the pieces of one section were cut out, labeled, and dried to leatherhard we placed them back onto the template in their assiged spots. We checked for missing pieces, warped eges, and anything that was slightly "off" or needed to be remade to fit better. As carefully as we followed our steps, every section had problems and there were always pieces that needed to be remade. It's just not possible to achieve uniform results with so many different people involved in the production.

When all the pieces were assembled we let them dry on the template to a bone dry state.

The pieces of each section were fired together.

Each piece was placed back onto the template in the right spot. We checked again for missing or broken pieces.

You can see that the shrinkage rate created a large space between the pieces. We purposely cut our pieces exactly to size knowing that after they were fired there would be space between the pieces for the grout. If you cut the pieces smaller thinking that you are allowing for grout, then after they shrink the gaps will be much too large.


Each piece was glazed with three coats of Teacher's Palette glazes. We noticed that if the glaze was put on in one thick coat it developed tiny pinholes during firing. It was better to apply three seperate thinner coats for even application.

After glazing the pieces are placed back into their position on the template to double check that they are the right color and consistent with the rest of the mural.

Unloading the glaze fired pieces is always exciting for the students. They finally get to see the pieces in their true color.
Some variation in the color is expected and can usually be attributed to one of the following:
1. Varying thickness of glaze application
2. Placement in the kiln. Tiles fired on the top shelf tended to be lighter than tiles fired in the middle or at the bottom.
We reglazed and refired many of the tiles from each section. I would count on having to do repeat firings to even out the color tones.
The kids love this part! Putting all the fired pieces back in their place is like doing a giant puzzle and students who previously didn't show much interest in the project are fighting over whose turn it is to help.

 Some of the tiles were intentionally left out during the thinset application to allow spaces for screwing the board to the wall.

All that's left to do now is cut the framing and paint it. Yea!

It's really exciting to see the mural coming together.
 Some of the tiles were intentionally left out during the thinset application to allow spaces for screwing the board to the wall.
Installation Day 1
Ok, we are ready to install! This is the wall that we were asked to use when we got there. Apparently, the wall in the lobby that we were planning to use is going to be torn down this summer.

First, the bottom frame. The pannels will sit on this frame so we need to get it on the wall first.
The boys jump right in measuring and setting the frame in place.

Then the first panel goes up. We used LiquidNails on the back of each panel and hardiboard screws to secure them to the wall.


And, Viola! The mural is installed! We will return tomorrow to apply the grout, touch up the frame, and clean it up. And then...we...are...finished!
These kids are awesome! I'm so proud of the way they committed to this project and saw it through to the end.

Installation Day 2
The kids on team "Grout" jump right in! We taped the frame and put up a plastic drop cloth to protect the floor and wall in our work area. This stage of the install is VERY messy.
Then they used their scrubbing sponges and remove anything stuck to the surface of the tiles.

We worked outside to mix the grout. The drill attachment mixing tool was a life saver! I love this thing.


Chris brought his dad's belt sander to shave a few millimeters off the tiles that didn't fit into their spot anymore. We are convinced that they grew while we were gone.

After a quick demonstration the kids start spreading the grout.


We tried to avoid the areas where tiles were missing while we waited for the belt sander to work its magic.

When all spaces looked nice and full we let the whole thing sit for about 30 minutes while we enjoyed the pizza buffet. Yum!
Then it was back to work! Time to wipe off the excess grout with wet rags.


We went through about 4 water changes before we felt like it was as clean as it was going to get.

Then we pulled the tape from the frame and cleaned up the edges.

Once we had all the missing pieces ground down to fit, we glued them into place, added grout, and wiped them clean.

The finished mural still has a layer of grout over the entire surface that will need to be washed off again tomorrow and probably again the next day. It usually takes 4 or 5 cleanings before the grout doesn't give up any more dust and the tiles stay clean.


These kids are the best! This was a looooong project, and a LOT of hard work.
They did it themselves and I am SO proud of them!
They did it themselves and I am SO proud of them!
I was so honored to have been part of something so amazing as this. However the person that also needs to be the most applauded is you Mrs. for the hard work you put in to start this project. I know the that every little seed you plant in us will grow into beautiful fruit and someday just like you we will look back at the wonderful art we left a print on; knowing that they will be viewed for generations to come. Thanks again for this opportunity
ReplyDeleteDulce you are an amazing young lady, and we could not have done this awesome project without your help. You are so focused and driven, and also so sweet and funny. You are truly inspiring. Thank you for doing this with me. Have a great summer and I'll see you next fall!
ReplyDelete